


In a world where everyone’s a budding podcaster or a TikTok superstar, connecting a mic to an iPhone can feel like rocket science. But fear not! With the right guidance, you’ll be the proud owner of a crystal-clear audio setup that’ll make your friends think you’ve got a secret studio hidden in your closet.
Understanding The Need For A Microphone
Microphones play a crucial role in capturing high-quality audio on an iPhone. They improve sound clarity, which enhances the listening experience for various applications. Aspiring podcasters and content creators benefit significantly from using an external microphone over the built-in options.
External microphones can minimize background noise, resulting in clearer recordings. They provide a level of professionalism that helps creators stand out. When recording interviews, presentations, or voiceovers, a microphone ensures crisp sound transmission.
Different types of microphones serve various purposes. Condenser microphones often excel in studio settings, delivering rich audio quality. Lavalier microphones offer hands-free convenience, making them ideal for interviews and on-the-go recordings. USB microphones connect easily to an iPhone, benefiting home studio setups.
Using a microphone also supports better audio levels. This prevents distortion and ensures the content reaches the audience with clarity. Properly setting levels complements the speaker’s voice, enhancing the overall production value.
Additionally, many microphones come with additional features. Noise cancellation capabilities help filter out unwanted sounds. Wireless options provide flexibility during recordings, allowing movement without being tethered to the device.
Investing in a quality microphone leads to better engagement with the audience. Creating polished content fosters a more professional image, encouraging listeners to return for more. An external microphone supports overall audio production quality, making it an essential tool for anyone serious about content creation.
Types Of Microphones Compatible With iPhones

Various microphone types work well with iPhones, catering to different recording needs. Knowing these options enhances the user’s ability to choose the ideal microphone for their projects.
Wired Microphones
Wired microphones connect directly to the iPhone’s headphone jack or lightning port. They provide reliable audio quality, making them suitable for interviews and podcasts. Common options include dynamic microphones and condenser microphones, each offering distinct features. Dynamic microphones excel in capturing loud sounds, while condenser microphones pick up subtle details and nuances. Users often prefer lavalier microphones for hands-free operation and added portability. Many wired models also include noise-canceling features, which can improve recording quality in noisy environments.
Wireless Microphones
Wireless microphones allow for greater mobility, connecting to the iPhone via Bluetooth or dedicated transmitters. These microphones are ideal for presentations, events, and on-the-go recordings. Lavalier and handheld options are popular among content creators, offering flexibility without the hassle of cables. Some models come equipped with noise reduction technology, ensuring clear audio even in crowded spaces. Battery life varies, so it’s important to consider the duration of use when selecting a wireless microphone. Overall, wireless microphones enhance convenience, making them a top choice for dynamic recording situations.
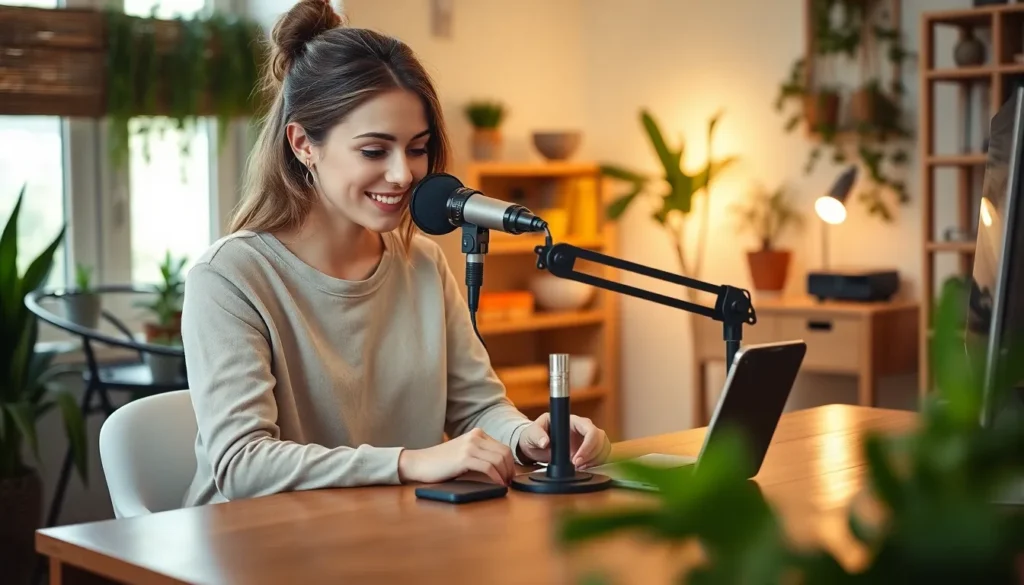
Step-By-Step Guide On How To Connect A Mic To iPhone
Connecting a mic to an iPhone enhances audio quality for recordings. Follow these steps for different microphone types.
Using Lightning Connector
Lightning connector microphones plug directly into the iPhone’s charging port. This method provides a simple and reliable audio solution. Begin by locating a compatible mic with a Lightning connector. Once found, attach the microphone firmly to the Lightning port. After plugging it in, open the recording app of choice, and check that the mic is recognized. Most apps automatically detect external microphones. Speak into the mic to test sound levels. When prompted by the app, adjust input settings if necessary.
Using 3.5mm Adapter
For microphones using a 3.5mm plug, an adapter is essential. These adapters convert the port for compatibility with newer iPhones, which lack a headphone jack. To use this method, acquire a lightning to 3.5mm adapter. Connect the adapter to the Lightning port first. Next, insert the microphone’s 3.5mm plug into the adapter. Open a recording application to verify the connection. Ensure that the mic works by speaking into it, adjusting settings as needed for optimal audio quality.
Using Bluetooth
Bluetooth microphones offer a wireless option for iPhone connections. These mics provide more freedom of movement during recordings. Start by turning on the Bluetooth mic and putting it into pairing mode. Access the settings on the iPhone and navigate to Bluetooth. Choose the microphone from the list of available devices. Once paired, open the desired recording app. Test the mic by speaking to check sound quality and make necessary adjustments. Wireless setups can sometimes add latency, so confirming audio sync is advisable.
Tips For Optimal Audio Quality
Select the right microphone type for the intended purpose. A condenser microphone excels in studio settings, while lavalier mics work best in hands-free situations. Consider the recording environment; quiet spaces enhance audio clarity.
Use a windscreen or pop filter to minimize unwanted sounds from breath or wind. Position the microphone close to the sound source to capture clear audio while reducing background noise. Maintain a consistent distance from the mic during recording for uniform sound levels.
Adjust the input levels within the recording app. Opt for levels that avoid distortion, typically sitting around -12dB to -6dB. Test recordings allow for adjustments before proceeding with important sessions.
Choose high-quality cables for wired microphones. Damaged or low-quality cables often lead to audio signal degradation. When using wireless options, ensure the batteries are fully charged to avoid interruptions during recordings.
Monitor audio in real-time through headphones. This allows for immediate adjustments if any issues arise. Keep background noise to a minimum to achieve the best results, with soft surfaces absorbing sound reflections.
Experiment with different microphone placements. Variations in angles or distances can significantly impact audio quality. Familiarize with the recording settings to tailor them to specific microphone types, boosting overall performance.
Regular maintenance of microphones ensures longevity and optimal sound quality. Store equipment in dry, clean environments to protect against damage. Following these tips enhances audio recordings, presenting professional sound that engages the audience.
Achieving high-quality audio on an iPhone is within reach for anyone willing to invest a little time and effort. By choosing the right microphone and following the steps outlined, users can elevate their recording quality significantly.
Whether opting for a wired or wireless solution each type of microphone offers unique advantages that cater to various recording needs. With the right setup and attention to detail, users can create professional-sounding content that captivates their audience.
Taking these steps not only enhances audio clarity but also establishes a polished image that resonates with listeners. Embracing these techniques will undoubtedly lead to more engaging and impactful content creation.